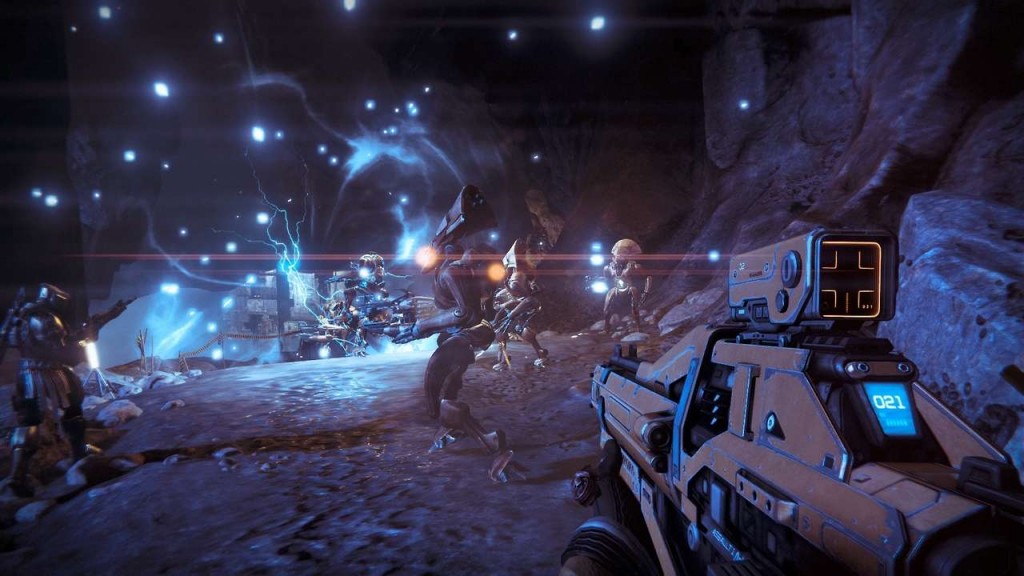
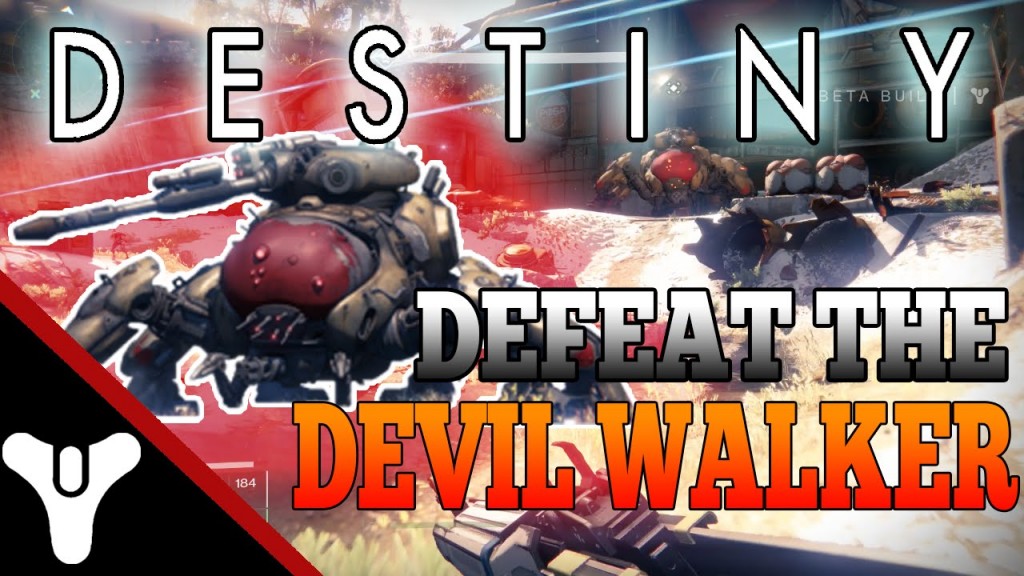
The Destiny beta has launched for a few days. We has already sunk some hours into it, so we’ve put together some quick tips to help get you started.
How to avoid taking damage
In the early missions, enemy fire is slow moving, but doesn’t follow a straight trajectory. Constant movement is the best way to minimise damage taken during the small skirmishes. Popping in and out of cover is the most effective way to take out the small groups of Vandals, Dregs and other foes you’ll encounter along the way.
What’s the most effective way to kill enemies
Try and stay as far away as possible from enemies, picking them off at range before switching to your alternate weapon to clean up any who come too close for comfort. It’s important to carry one long and one short range weapon, keeping you well equipped for all possibilities.
Some of the enemies will be melee-focused, and swarm on you in packs of up to four, so keep both guns loaded between the fights so you aren’t caught by a sudden onslaught.
How do I upgrade my equipment
Return to the Tower after every mission to upgrade your weapons, armour and unlock whatever new items are available. Destiny has a good waypoint system and will alert you to any merchants or other NPCs who are in need of interaction to unlock new goodies.
When should I spend my Destiny Glimmer
Glimmer is Destiny’s currency, and is worth stockpiling in the early parts of the game as you’ll be unlocking a ton of items that’ll quickly improve your stats, a la Borderlands. Once the loot drops start withering out, then start putting your Glimmer to good use with the merchants.
How to get headshots
It sounds pretty obvious, but headshots do far more damage than damage anywhere else. It’s actually pretty easy to get headshots on the low-level enemies, thanks to their slow movement. Keep aiming high to help whittle down packs and focus on the Captains and other leaders.
How many people can I join in co-op
Campaign missions allow you to link up with a couple of friends and take them on as a group of three. Tackling missions as a group certainly makes things more interesting, and communication is always a benefit, so ideally find friends who have a mic.
How to complete missions
A few of the early missions end in a heated battle with either a large number of Vandals, Dregs and other low level foes, or one giant behemoth and a few minions, make sure you go into the end game well prepared.
Take a pause before approaching the closing objective to make sure your powers or grenades are recharged, you’re fully reloaded on all weapons and take a note of the terrain. Find good cover spots and make sure you aren’t cornered.
Multiplayer tips
Keep checking your equipment, as you can rotate armour to improve your overall defence and swap weapons around too.
For your alternate weapon, if you choose the sniper rifle or other guns that require special ammo, you’ll need to collect it from the boxes littered around the map in order to use them. These caches usually don’t stock much ammo, so try and grab a couple between runs to the domination points.
Whenever you come across the large, tank-like vehicle, jump in. At present, it feels a little overpowered, and may well be balanced in the near future. Right now, it offers great protection and fires lightning-fast rockets that are guaranteed to net you a handful of kills. It’s also small enough to drive to B and C and capture without getting out. Just make sure you keep your eyes peeled for any approaching enemies and be mindful of nearby turrets.

